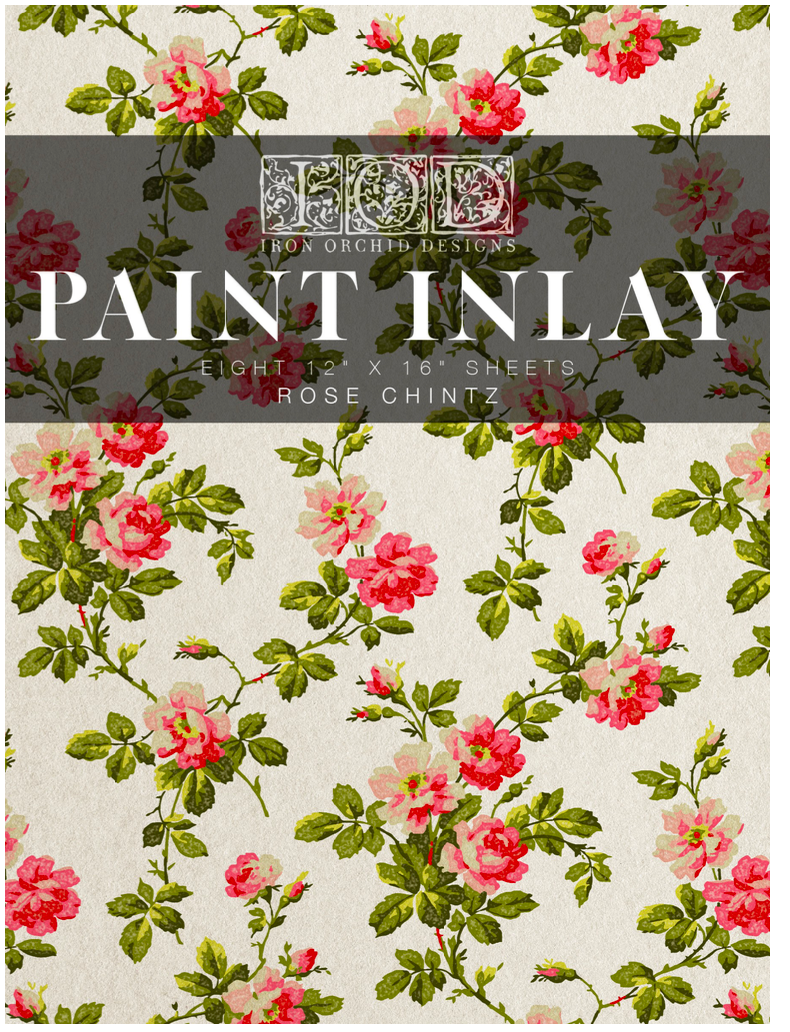
Iron Orchid Designs Rose Chintz Painted Inlay 12" x 16" pad
Iron Orchid Designs Rose Chintz Painted Inlay 12" x 16" pad
Restyled Decor
Couldn't load pickup availability
Rose Chintz Paint Inlay
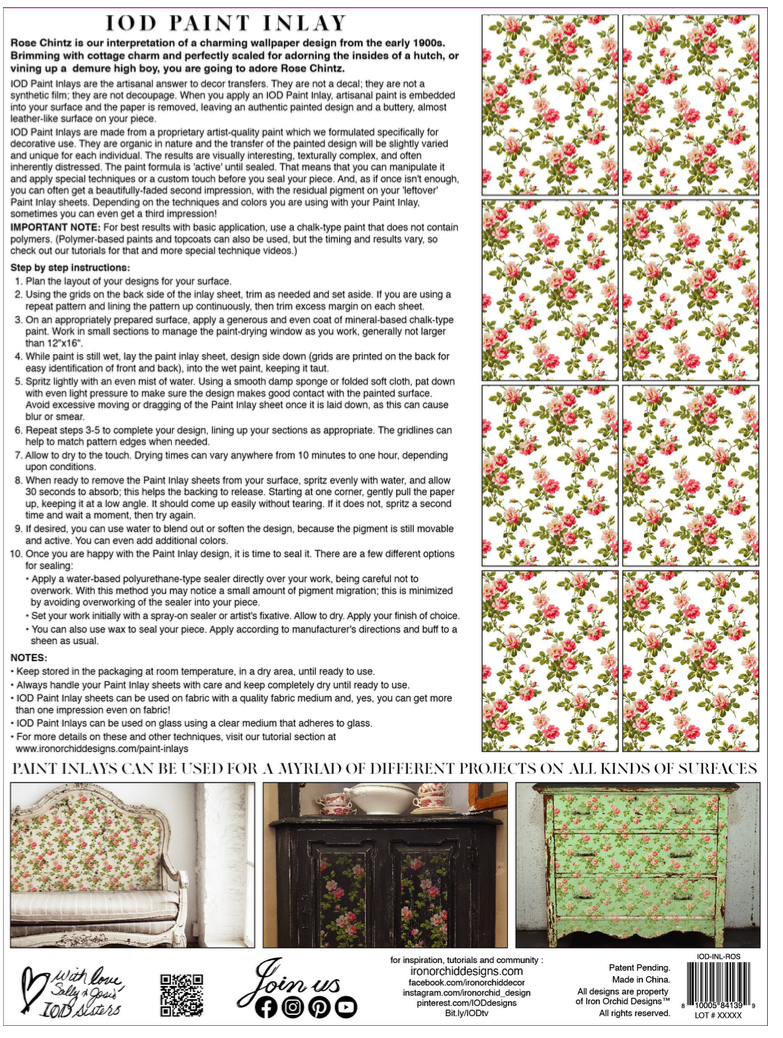
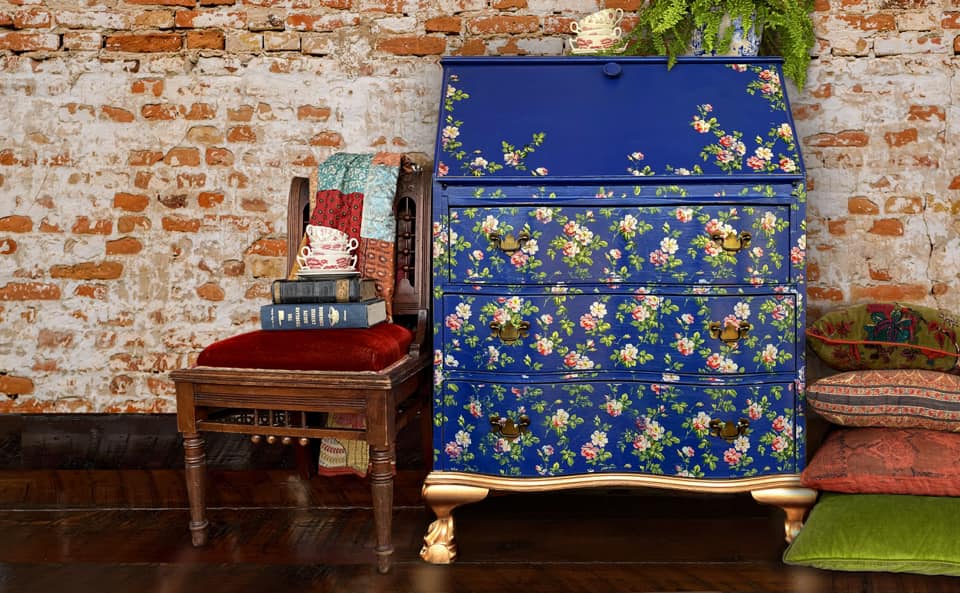
IOD’s Rose Chintz Paint Inlay is inspired by vintage wallpaper. The soft pink vining roses of the Rose Chintz Paint Inlay are perfectly scaled to embellish a dresser or decorate a chair. This pad is 16″ x 12″ and contains 8 pages of inlays.
So, What is a Paint Inlay?
Let’s talk about what it’s not. It’s not a transfer, not a decal, not a synthetic film, and not decoupage. It’s actual artisanal paint that embeds into the surface when the paper carrier sheet is removed. This gives an authentic painted design that leaves a buttery, leather-like surface.
The transfer of the paint design will vary with application resulting in an interesting and often inherently distressed image. The paint is “active” until sealed so you can manipulate the paint and create custom techniques before you seal it. And if once isn’t enough, you can often get beautifully faded second applications with the residual pigment on your leftover sheets.
How does it work?
- Use the gridlines on the back of the inlay sheet to plan your layout and trim accordingly.
- Once your surface has been prepped, apply a generous amount of paint. These are designed to work with chalk-type paints but work equally well with Fusion. We recommend adding some Extender (a great product from our store from Fusion Mineral Paint) to the paint to extend the dry time. Work a small section at a time.
- While the paint is still wet, apply the inlay, design side down, into the wet paint.
- Spritz lightly with an even mist of water, and use a damp sponge or smooth cloth to pat the inlay down to ensure it has good contact with the surface. Avoid moving or dragging the inlay as this can cause the image to smear.
- Repeat steps 2-4 to complete your design.
- Allow the inlay to dry to touch.
- When you are ready to remove the inlay sheets, spritz evenly with water and wait a few seconds for the water to absorb into the paper. This will help the backing paper to release. Starting at a corner, gently pull the backing paper back toward itself. It should come up easily without tearing. If it doesn’t, spritz with water and try again.
- Use an artist's brush and some water to blend the image to soften or make corrections. You can even add colors!
- Once you are happy with your inlay it’s time to seal it. There are three options for sealing:
*Use a water-based poly and gently apply it over your work. Use caution not to overwork it, as there may be pigment migration. We use Fusion Mineral Paint's Tough Coat in Matte finish because it does not yellow.
* You may also seal with wax.
For more details on these and other techniques, visit
IOD’s tutorials
Share
